Jailbreaking My Kindle Paperwhite 3
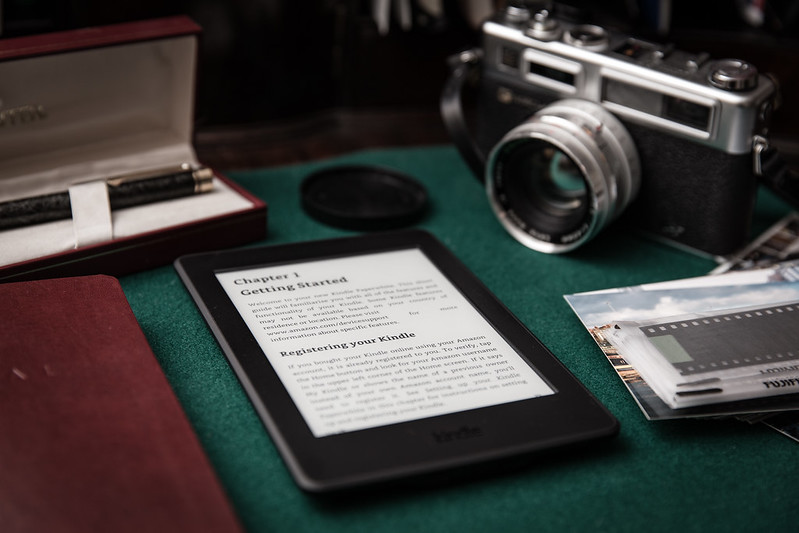
Amazon Kindle Paperwhite 3 is an excellent book reader. Amazon makes one of the best and affordable eBook readers. E-ink displays have improved a lot over the years and reading on one of these devices is visually close to reading material books. Apart from the visual experience eBook readers are environmentally friendly and compact (You can easily read a few hundred books while carrying only a few grams of weight).
This jailbreak is heavily based on grant2 post on mobileread.com
The last section of this article titled References might be helpful if you have a different model of Kindle.
Why I Jailbroke my Kindle?
These days I read more research papers and white papers than books. It’s easy to purchase eBooks from Amazon and read them but a lot of the literature I tend to read is in PDF. Even though Amazon offers a Mail to Kindle service for PDF’s it does not render some aspects of PDFs properly like figures, tables, etc. Jailbreaking your Kindle gives you additional features like applying custom screensavers, loading custom fonts, installing apps for reading comic books better, support for popular eBook extensions like EPUB and Mobipocket (Mobi) and the most important of all is using KOreader which handles PDF formatting better on Kindle.
My Kindle Configuration Before Jailbreak
| Kindle PaperWhite 3 (2015) WiFi | |
|---|---|
| Serial Number | G090 G1 |
| Firmware Version | Kindle 5.12.4 (3602730042) |
Jailbreaking Requirements
There are two methods to jailbreak your kindle:
- Software Jailbreak -
(Firmware Version >= 5.6.x) - Serial Jailbreak -
(Other Firmware Versions)
Since my Kindle has the latest Firmware as of July 2020, I could only use the serial jailbreak method.
I am not going to explain how to solder or how to establish a serial connection with the USB to Serial converter. Please use Google or refer the following pages:
Tools Used
This is the exact list of tools that I used. You can make do with less and also find alternatives that suit you.
- iFixit Prying Tools
- Soldering Equipment
- 30AWG Tinned Copper Wire
- Kapton Tape
- Electrical Tape
- Sparkfun Bi-directional Logic Level Converter
- CP2102 USB to Serial Converter
- Breadboard
- Spare Jumper Cables
- Linux/Windows PC
- A Variable DC-DC Power Supply
Preparing your Kindle for Jailbreak
Backup all your Kindle content and Device Info from the setting menu. Take note of your Firmware Version, Wi-Fi MAC, Serial#. Calibre is a great piece of software to manage your Kindle content, find book covers, and metadata among other things. Factory Reset your Kindle and make sure your Kindle is in Airplane mode and all wireless connections are forgotten.
Power off your kindle by holding the button on the bottom for 10 seconds and select SCREEN OFF.
Getting Access to Kindle’s Serial Port
DISCLAIMER: I am not an expert in jailbreaking Kindle, my experience is limited to online guides and tutorials. If your Kindle gets bricked I AM NOT RESPONSIBLE. Google for solutions or refer the Help/FAQ Section at the end of this article.
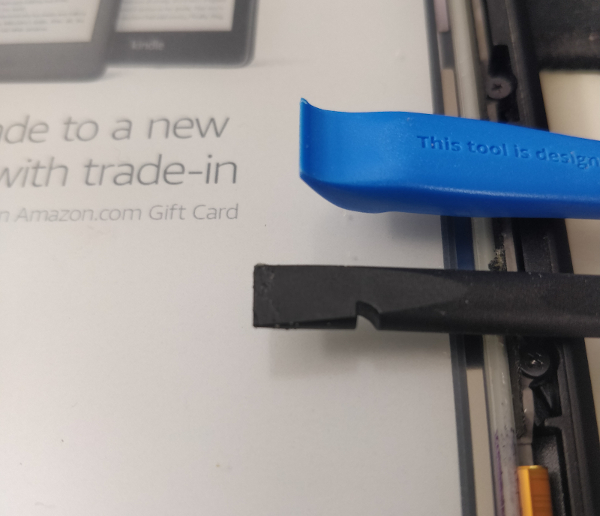
Follow iFixit’s Guide on Battery Replacement up to Step 5 to get access to the back of the PCB. Remove 3 screws and remove the battery for the next step.
Setting Up a Serial Connection between Kindle and your PC
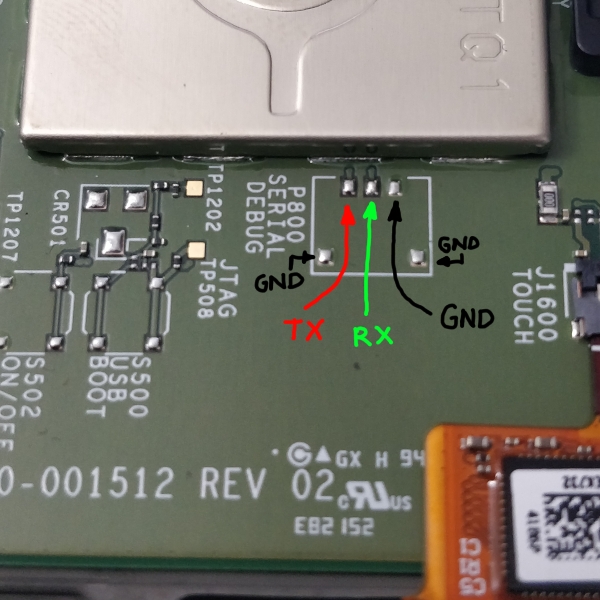
As almost every tablet/cellular/multimedia device runs on some form of Linux, no surprise here, Kindle also runs on one and the hardware designers have a serial port exposed on the PCB for debugging and maintenance. You’ll need to solder some wires to the pads on the PCB to access the port.
Refer to the image below for the pads with which we can access the serial port. If you need access to a 1.8 V supply use the GND pad and probe other pads to locate one.
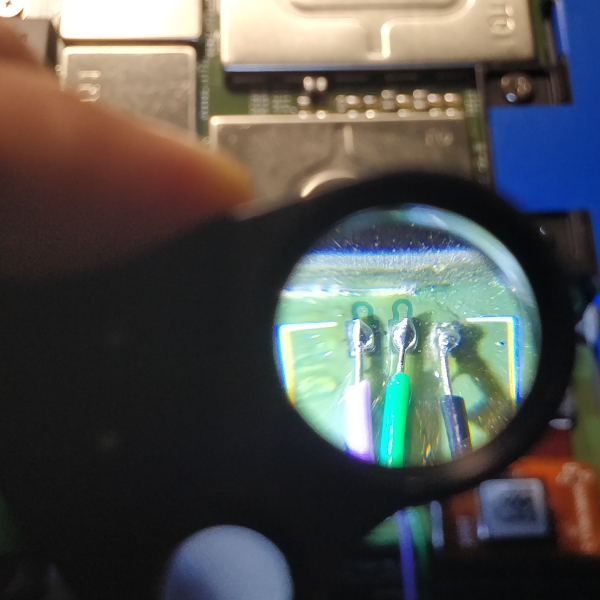
Ther serial port on Kindle is 1.8V and the module I used is compatible with a 3.3V serial port hence I used a Bi-directional Logic Level converter to make the USB to Serial converter work with Kindle. Instead of using the Kindle for a 1.8V supply, I used a DC-DC variable power supply to power the logic converter. Below is a block diagram of the setup.
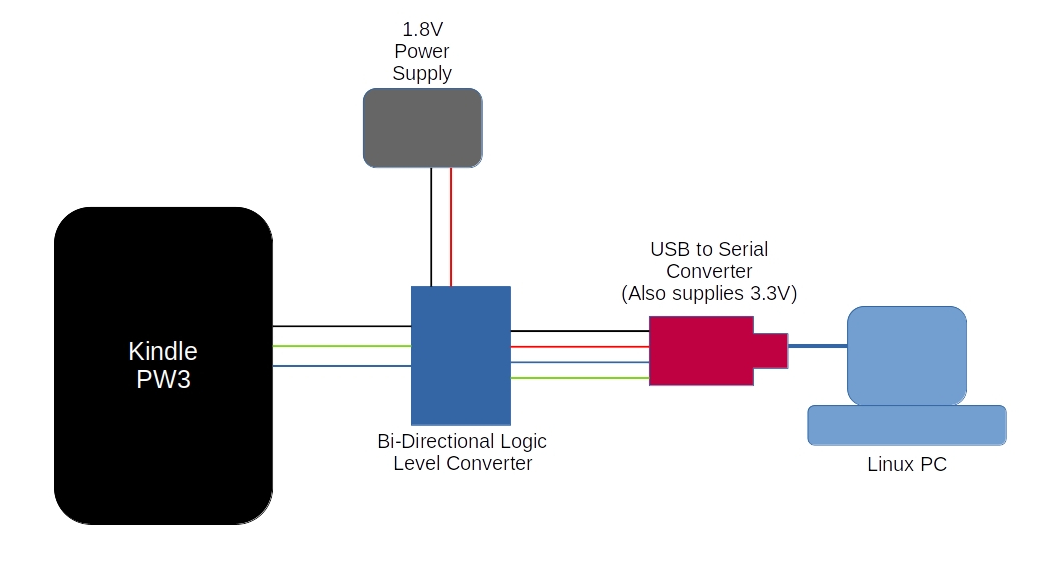
| USB to UART | Kindle |
|---|---|
| TX | RX |
| RX | TX |
| GND | GND |
You’ll need access to the screen for the next steps so pop in the battery you removed for soldering wires to the serial port.
Getting Root Access to Your Kindle
Overview
- Getting Kindle’s Password
- Setting Up Your COM Port
- Getting Into Diagnostics Boot
- Removing Password for
rootUser - Jailbreak
Getting your Kindle’s Password
You should have Python installed on your system to generate the password to access Kindle as a root user. Run the following commands in Python to get your root password specific to your Kindle’s Serial Number. Do not forget to substitute your Kindle’s serial# in the command.
import hashlib
print("fiona%s"%hashlib.md5("<your kindle serial number with no spaces and all capital letters>\n".encode('utf-8')).hexdigest()[13:16])
Post running these commands you should get your root password. It should have the following format fionaxxx. The xxx will be three characters specific to your device.
Setting Up Your COM Port
Use the following settings in PuTTy to connect to your Kindle.
| Speed (Baud Rate) | 115200 |
| Data Bits | 8 |
| Stop Bits | 1 |
| Parity | None |
| Flow Control | None |
Getting Into Diagnostics Boot
Turn on your Kindle and you should see some text on the serial terminal (PuTTy). When you see something hit any key to stop autoboot press any key to interrupt the process or better yet keep pressing any key after you see text appear. You should be left with a prompt something like this:
uboot>Type the following command to boot into the diagnostics menu:
uboot> bootm 0xE41000You should see a menu on your Kindle’s screen. Refer to the two images below to gain access to the login prompt on PuTTy.
kindle login: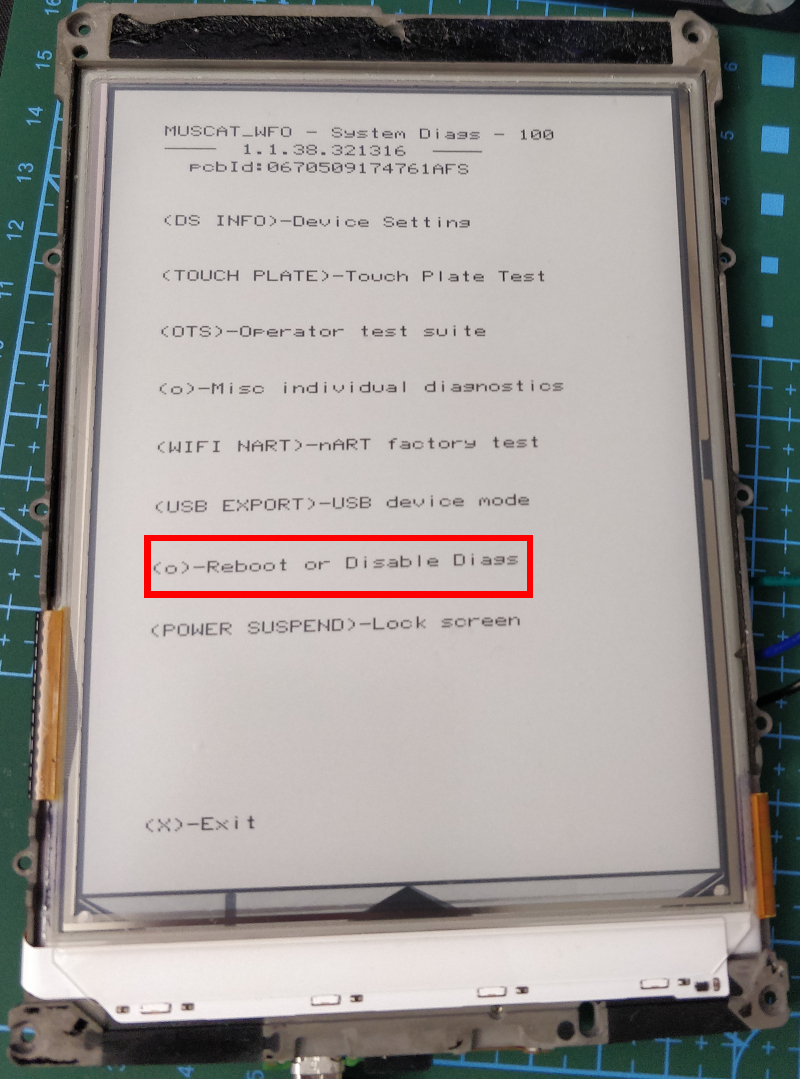
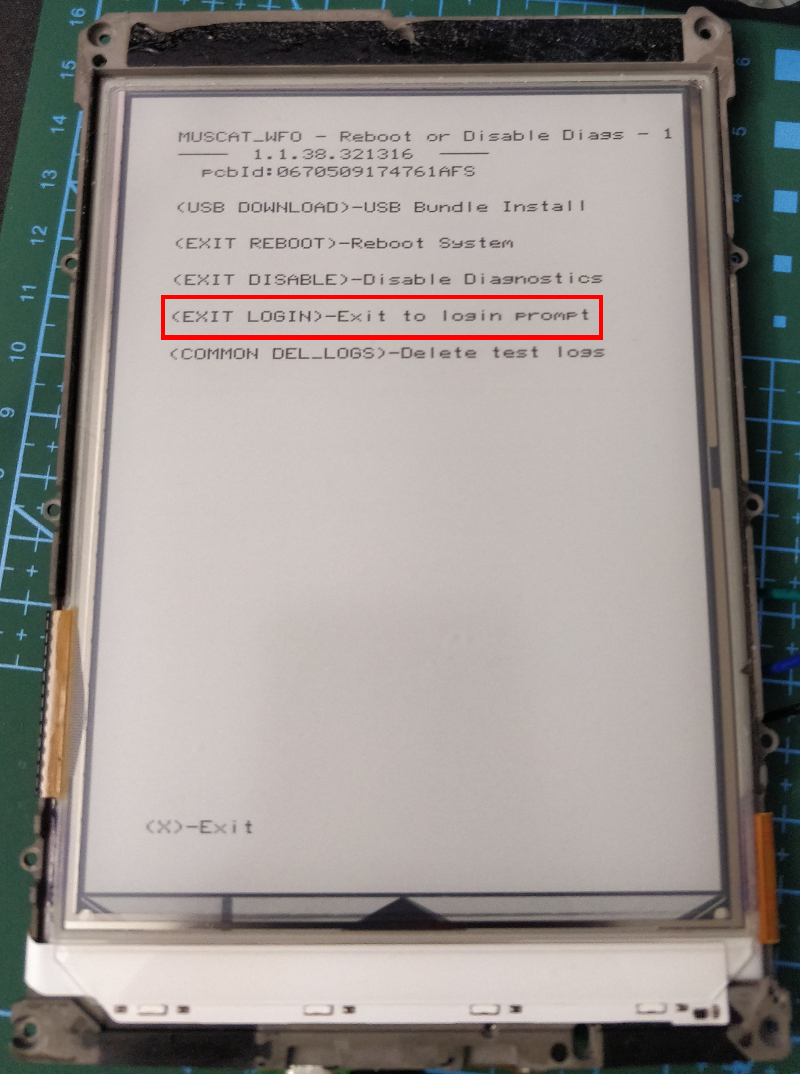
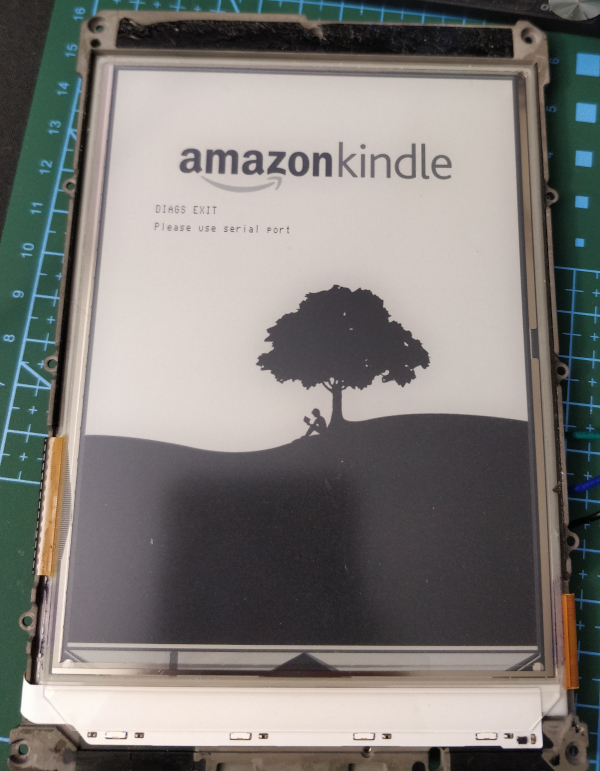
Enter the following details to get the root prompt [root@kindle root]#. As Kindle is using linux you won’t see the password being typed on PuTTy:
kindle login: root
password: fionaxxx (The one you generated above using Python)
Removing Password for root User
This section removes the need for entering password for the main root account.
Mount the system partition to access the linux passwd file. Run the following commands:
mkdir /tmp/main
mount /dev/mmcblk0p1 /tmp/main
vi /tmp/main/etc/passwd
This will open the linux passwd file in vi editor. Make the following edits to this file. At the top of the file you should see
root:x:0:0:root:/tmp/root:/bin/shafter it there might be some other lines. You need to remove the first x after root on the first line to get
root::0:0:root:/tmp/root:/bin/shand save the file.
Steps to Follow after vi is opened:
- Move the cursor to the colon before the
x - Press
ithen theDeleteKey - Press
EscKey - Press
:Key then typewqand pressEnterto save the file
Type reboot on the prompt after saving the file and press Enter, you should see your Kindle reboot and see some text your Kindle as well as PuTTy.
Jailbreak
All the tools/files you require for following sections can be found at the Tool Snapshots Page and look for the tools under the sections Packages targeting the Kindle 5 (Touch/PW1/PW2/KT2/KV/PW3/KOA/KT3/KOA2/PW4/KT4) and KUAL & KUAL extensions.
For this section you will need the K5 JailBreak (5.0.x - 5.4.4.2) tar.xz file.
- Unzip the tar.xz
- Connect your Kindle to PC
- Copy the following files from
kindle-5.4-jailbreakinside the extracted directory to Kindle’s root directory- bridge.conf
- bridge.sh
- developer.keystore
- gandalf
- jb.sh
- json_simple-1.1.jar
- Update_jb_$(cd mnt && cd us && sh jb.sh).bin
- Eject Kindle Drive
Type the following commands on PuTTy:
cd /mnt/us
sh jb.sh
The jailbreak script will do its magic and you should see the word JAILBREAK at the bottom of your Kindle.

Reboot Kindle by typing the reboot command on PuTTy. If the jailbreak is a success you should see the following directories in your Kindle’s root directory.
- mkk
- rp
Jailbreak Hotfix
If you’ve just successfully ran any iteration of a Factory JailBreak, this is your next step - JB Hotfix Page
For this section you will need the K5 JailBreak Hotfix zip file.
- Unzip the tar.xz
- Connect your Kindle to PC
- Copy the
Update_jailbreak_hotfix_1.16.N_install.binfile from the extracted directory to Kindle’s root directory - Eject Kindle Drive
- On your Kindle, Go To: Settings -> All Settings -> Device Options -> Advanced Options -> Update Your Kindle
- This will execute the
.binyou copied above and install the hotfix.
Installing MRPI or MobileRead Package Installer
This is a KUAL extension, that will plug into the Helper menu a single Install MR Packages button. - MRPI Page
I do not know what it does but from some forum post on mobileread.com said that this allows one to install KUAL which allows the running of 3rd Party apps and hence KOReader which was my aim.
For this section you will need the MR Package Installer tar.xz file.
- Unzip the tar.xz
- Connect your Kindle to PC
- Copy the following directories from the extracted directory to Kindle’s root directory
- extensions
- mrpackages
Installing KUAL
KUAL - Kindle Unified Application Launcher. This is a Launcher application, in which anybody can plug into to provide new buttons and menus through extensions. - KUAL Page
For this section you will need the KUAL and Helper tar.xz files.
- Unzip the
KUALtar.xz - Connect your Kindle to PC
- Copy the
Update_KUALBooklet_hotfix_v2.7.24_install.binfile from the extracted directory to Kindle’s root directory - Eject Kindle Drive
- On your Kindle, Go To: Settings -> All Settings -> Device Options -> Advanced Options -> Update Your Kindle
- This will execute the
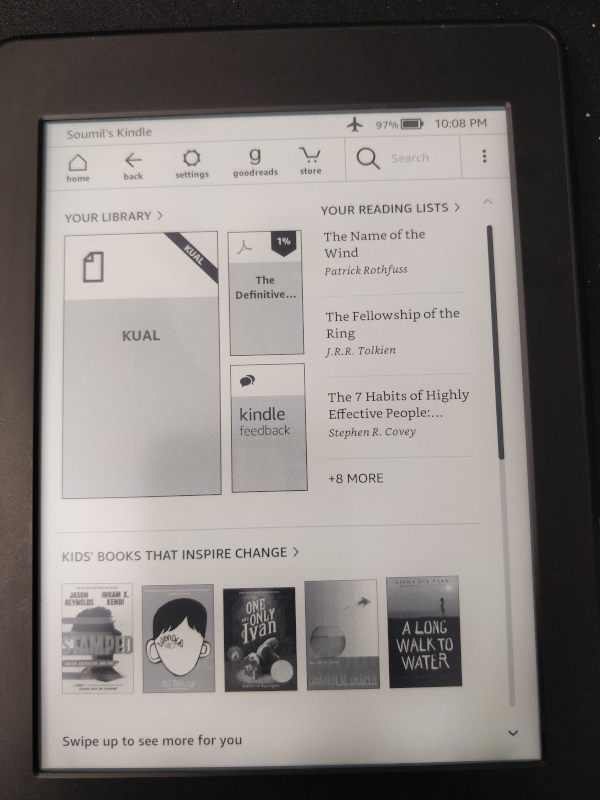
.binyou copied above and install the hotfix. - You should see a book named
KUALin your Kindle Library.
- Unzip the
Helpertar.xz - Connect your Kindle to PC
- Copy the contents of
extensionsdirectory from the extracted directory to theextensiondirectory in Kindle’s root directory - Restart your Kindle
Installing KOReader
KOReader is a document viewer primarily aimed at e-ink readers. - KOReader Github
- Download koreader-kindlepw2-v2020.06.zip from KOReader GitHub Download Page. The release might change so keep that in mind but the file prefix will be
koreader-kindlepw2. - Unzip the whole archive into the Kindle’s USB root directory
- Restart your Kindle
There’s an excellent tutorial on GitHub to install KOReader, written by the developers.
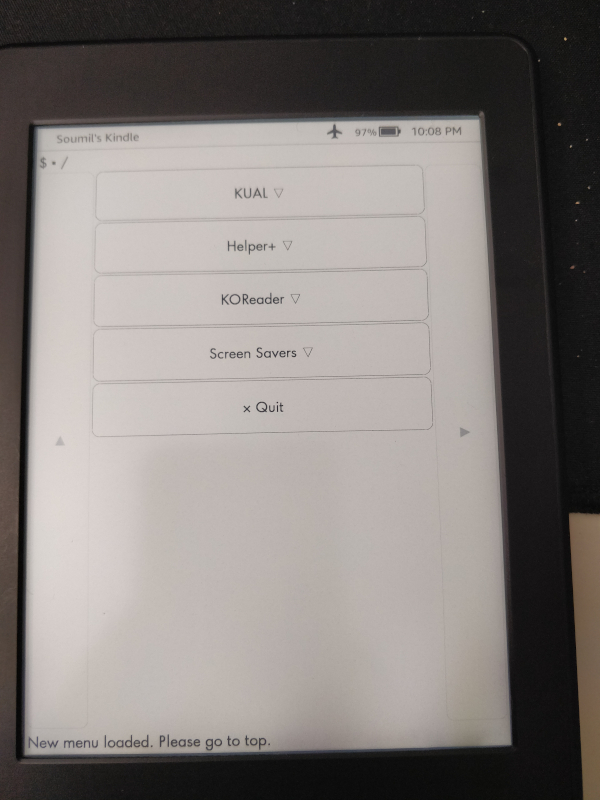
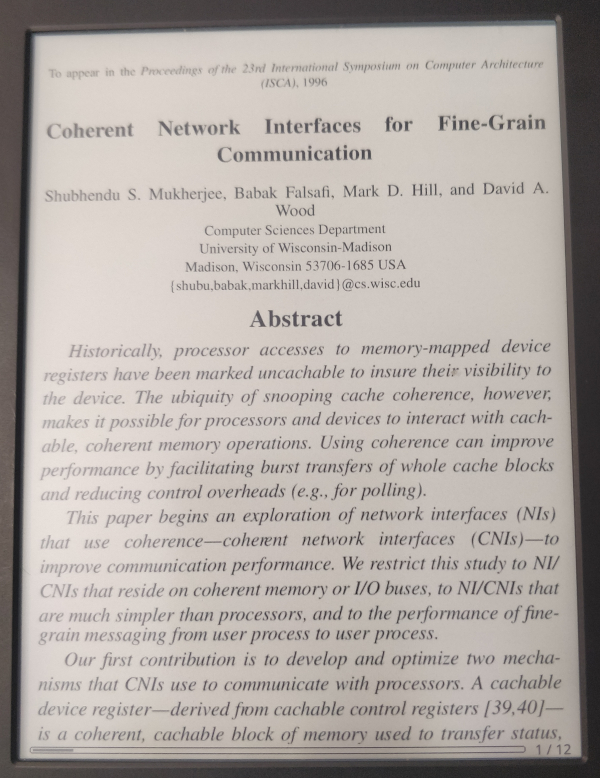
Protecting Your Jailbreak from Amazon’s Updates
I probably won’t connect my Kindle to Wi-Fi and manage documents using Calibre, but if you want to, make an empty directory named update.bin.tmp.partial in your Kindle’s root directory. This will confuse Kindle from updating automatically.
Installing Screensaver Hack [Optional]
If you want custom/personalized screensavers on your Kindle you can do so.
For this section you will need the ScreenSavers Hack and Python 2.7 & Python 3.8 tar.xz files.
- Unzip the
ScreenSavers HackandPython 2.7 & Python 3.8tar.xz - Connect your Kindle to PC
- Copy the
Update_python_0.15.N_install_pw2_kt2_kv_pw3_koa_kt3_koa2_pw4_kt4.binfile from the extractedPythondirectory to themrpackagesdirectory in Kindle’s root directory. - Copy the
Update_linkss_0.25.N_install_pw2_kt2_kv_pw3_koa_kt3_koa2_pw4_kt4.binfile from the extractedScreenSaversdirectory to themrpackagesdirectory in Kindle’s root directory. - Eject Kindle Drive
- Run KUAL -> Helper -> Install MR Packages
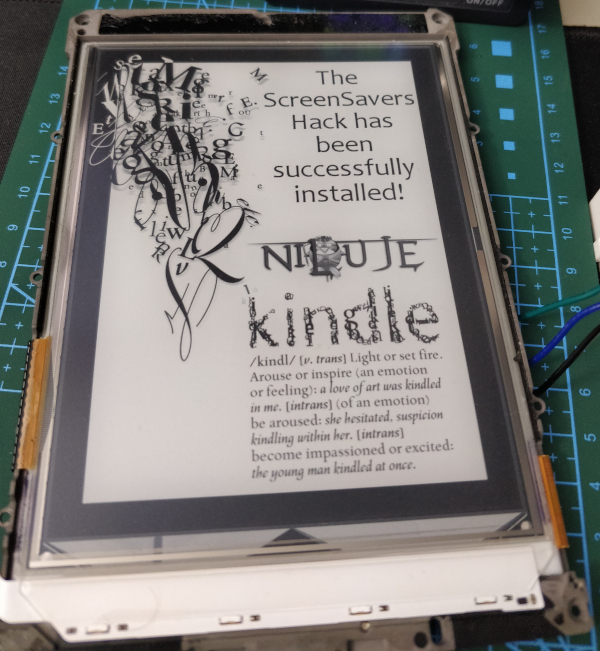
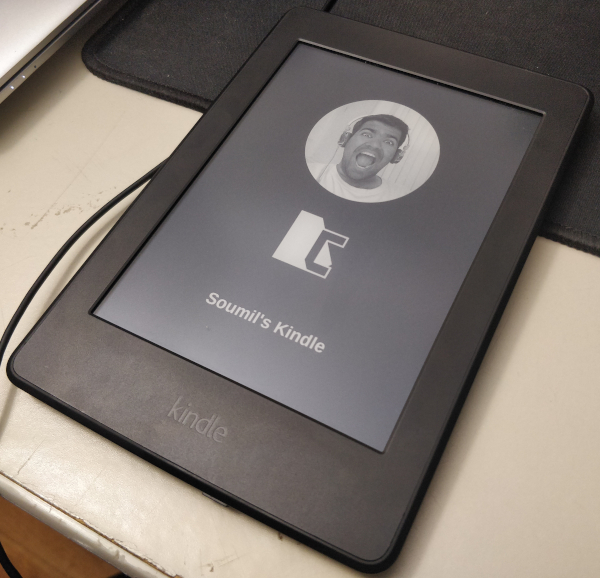
You should see the Image below while Python is being installed. After the packages are installed your Kindle will reboot and you should see the second image below as your screensaver. Not getting the screensaver after hack? Check the README section in the ScreenSavers directory or the references section.
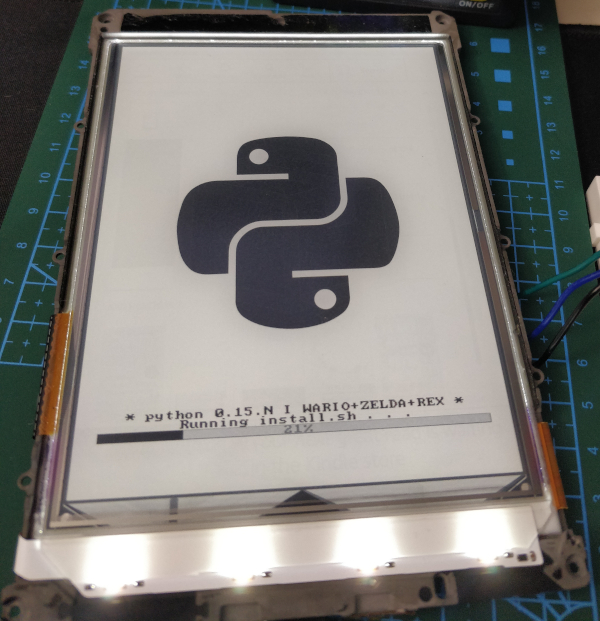
There are several options that the screensaver hack provides refer the README file in the ScreenSavers directory. I’ll explain what mode I’m using:
One the KV/PW3/KOA: PNG files, 1072x1448. Grayscale if possible, but color works too (you can even play with an alpha channel if you like). You NEED to follow these directives: non-PNG files will be discarded by the hack, and broken files or files in the wrong resolution will confuse the framework and trigger weird issues. -
ScreenSavers README File
- Copy any of your PNG screensavers (compliant to the above specification) to the Kindle’s Root Directory/linkss/screensavers
- On your Kindle, Go To KUAL -> Screen Savers -> Screen Savers Behavior -> Image Cycle (Default)
- KUAL -> Screen Savers -> Screen Savers Tools -> Clear cover cache
- KUAL -> Screen Savers -> Screen Savers Tools -> Clear personal info cache
- KUAL -> Screen Savers -> Screen Savers Tools -> Restart framework now
Your Kindle should restart the screensaver framework and the custom screensavers you added should be displayed on screen from now.
Help/FAQ
There are no issues with my jailbreak yet. I'll update this section if I find any.
References
- The Main Reference article for this hack
- The Linux Specific Reference article for this hack
- Reference Post for installing MRPI first before KUAL in newer firmwares
- Reference Post for the current Tool Snapshots
